

Hello, lovely humans of the interwebs! Today I’m going to outline a few of my Go-To Photo and Video Editing Apps, tips, and tricks.
The shortlist includes:
Additional apps for making fun IG stories, other designs, and planning out content:
I’ve personally found all of these apps really helpful.
As for my process for photos:
Usually, I start one, by taking photos on my camera (Sony) iPhone (quick tip: turn your grid on your iPhone, it helps you layout your shots). From the phone or the camera, I export to my computer/hard drive or just pop them into Lightroom from my phone.
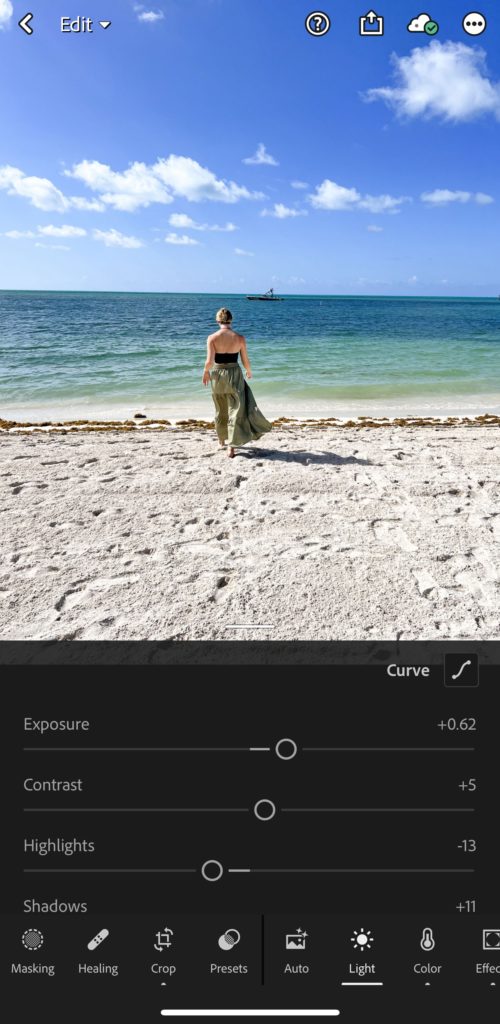
Starting with Lightroom, I tend to start by seeing with the auto settings look like, but tend to remove them. I like to play with brightness, usually bumping it up slightly, a tiny bit of contrast, lightening the shadows a big, and turning down the highlights slightly. That’s step one.
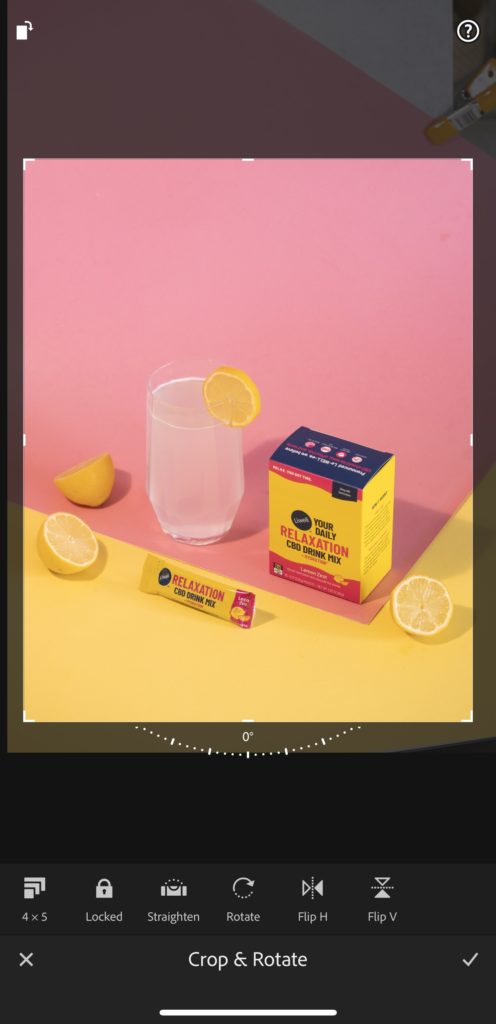
Step two, bop over to the crop tool and hit “straighten” and crop to whichever ratio you need:
IG in-feed: 1×1 or 4×5 (1080x1080px – 1080x1350px)
IG story/reel/Tiktok: 9×16 (1080x1920px)
Pinterest: 2×3 (1080x1620px)
Youtube: 16×9 (1920x1080px)
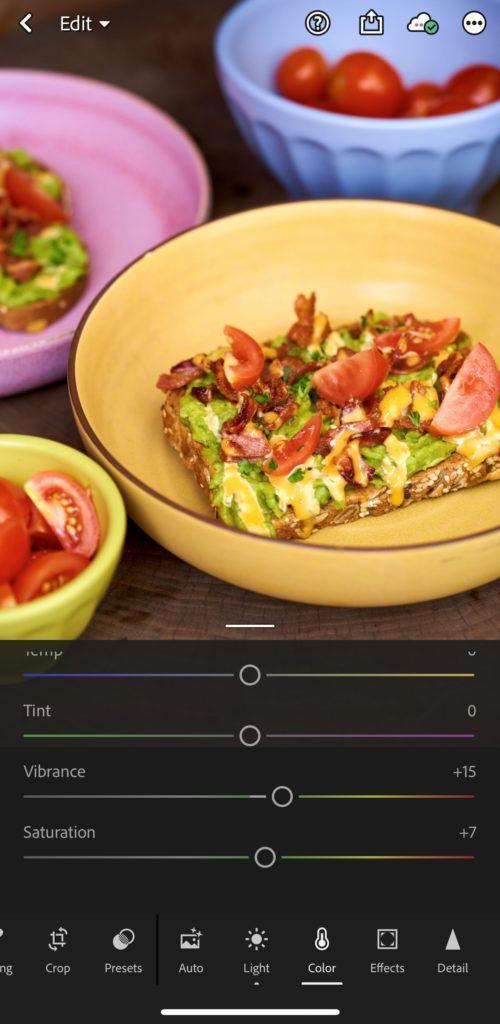
Step three: I usually play with adding a bit of vibrance, maybe saturation or maybe pulling saturation down a bit. Really depends on the photo. From there, one of my favorite tools lives in the effects tab called “dehaze” which I love to use on my skyline photos because it helps define everything and really makes the colors pop.
Step four: From here I will export from Lightroom (upper right corner share button and hit export to camera roll). I head to the VSCO app to add about 10-50% of a filter to my photos, depending on the day and the photo. Some of my favorites are the C’s – C1, C6, C7, C8, and then 04, 05, A4, A5, FR4, FT6, KE1, and the list goes on.

Et voila! I export from there and head to Instagram to post.
For video:
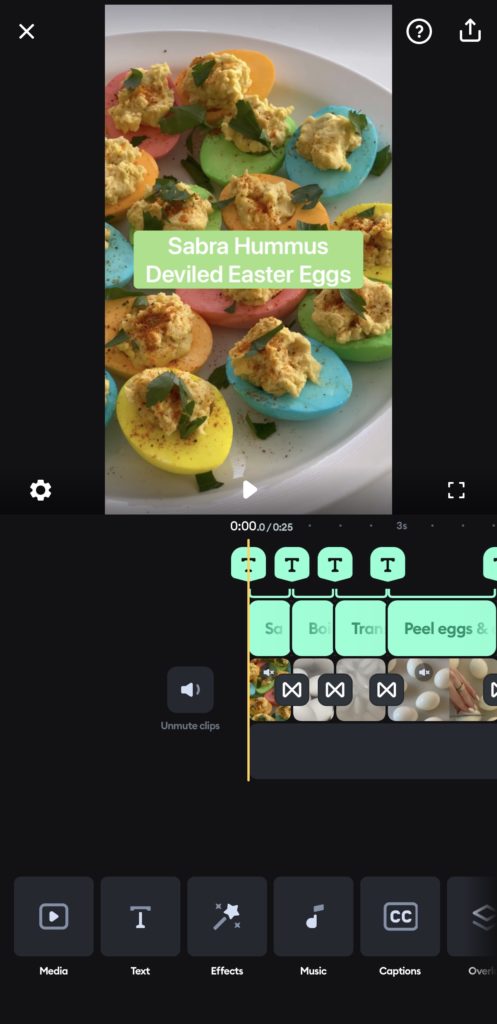
I’ve played around with several apps but found myself liking Splice quite a bit. I use this for editing reels for myself and the brands I work on. I like their text options and have text styles from IG and Tiktok.
One trick, when you go to export from Splice, make sure that if the video is coming from your iPhone (the new versions specifically), flip off the HDR toggle at the bottom when you export. That way you don’t run into that weird overexposure issue. I usually export at Full HD – 1080 for the most part.

Hope this was a quick and helpful rundown on a couple of my favorite photo and video editing apps!


+ show Comments
- Hide Comments
add a comment